Iris Folding Bunny Quilt Square!


I came across Iris Folding patterns and thought they would make a fun quilt!   I was surprised how easy and fun this quilt was to put together.  It looks like a lot of work, but is really quite simple.  

First, find a pattern that you like.  I found the bunny pattern at http://circleofcrafters.com/irisfolding/index.html

Print off two copies of the pattern.  Cut out the bunny on one of the copies and tape it to a table.  Here comes the fun part.  

I used my scrap fabric which I folded over and cut to fit the pattern.  You can also make 1” strips and fold with wrong sides facing and iron to use as your fabric.  

The bunny pattern calls for 3 different fabrics.  Using the pattern place your fabric so the fold is right on the line marked 1.  Use a thin line of fabric glue to secure each layer.

You may want to tape this fabric to the table so it won’t slip.  Continue to follow the pattern in number sequence.   

Keep following the numbers and layer the fabric until you have created an iris opening. 


 It does not look pretty, but from the back, but wait till you flip it over and see the fun pattern you created.

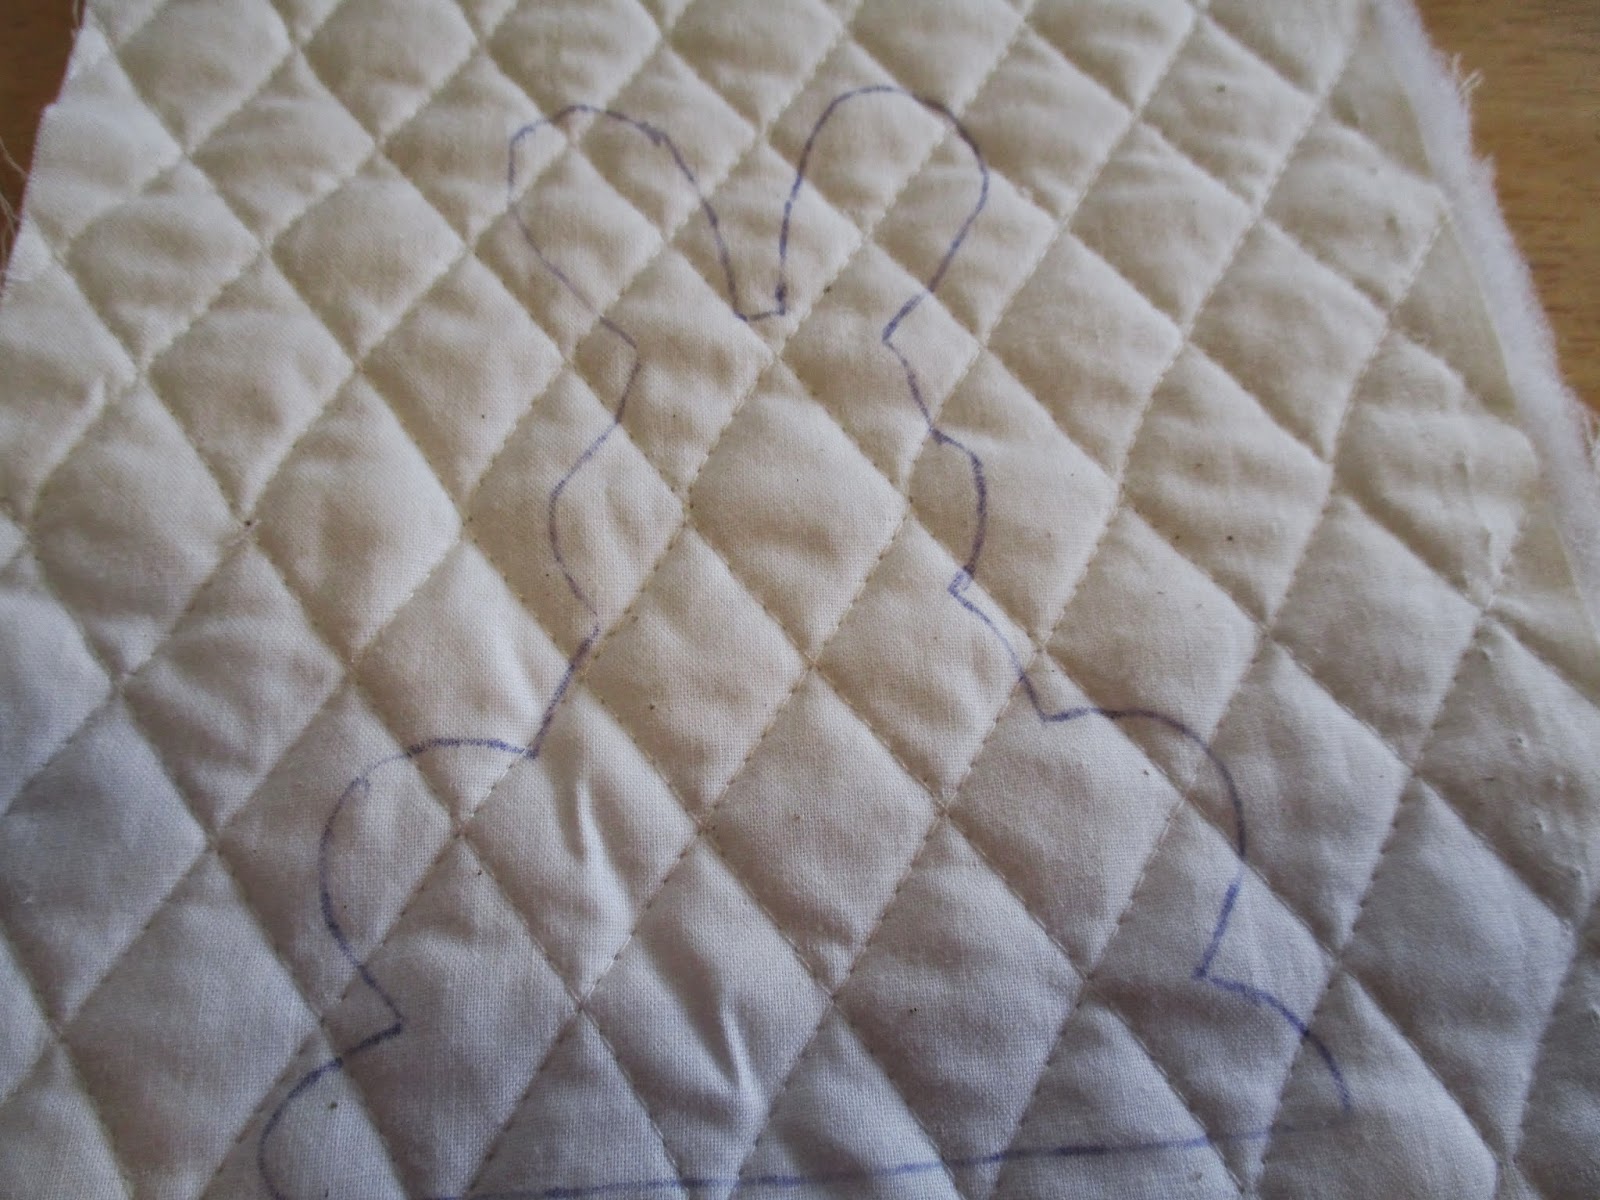


Next, using the second copy of the pattern cut out the bunny shape and trace it onto a background fabric.  It is easier to work with if your fabric is a little stiff.  You can use iron on interfacing to stiffen fabric or like in this quilt use pre-quilted fabric.  Remove the paper pattern from the folded bunny and if you would like glue a small piece of fabric to cover the iris opening.  

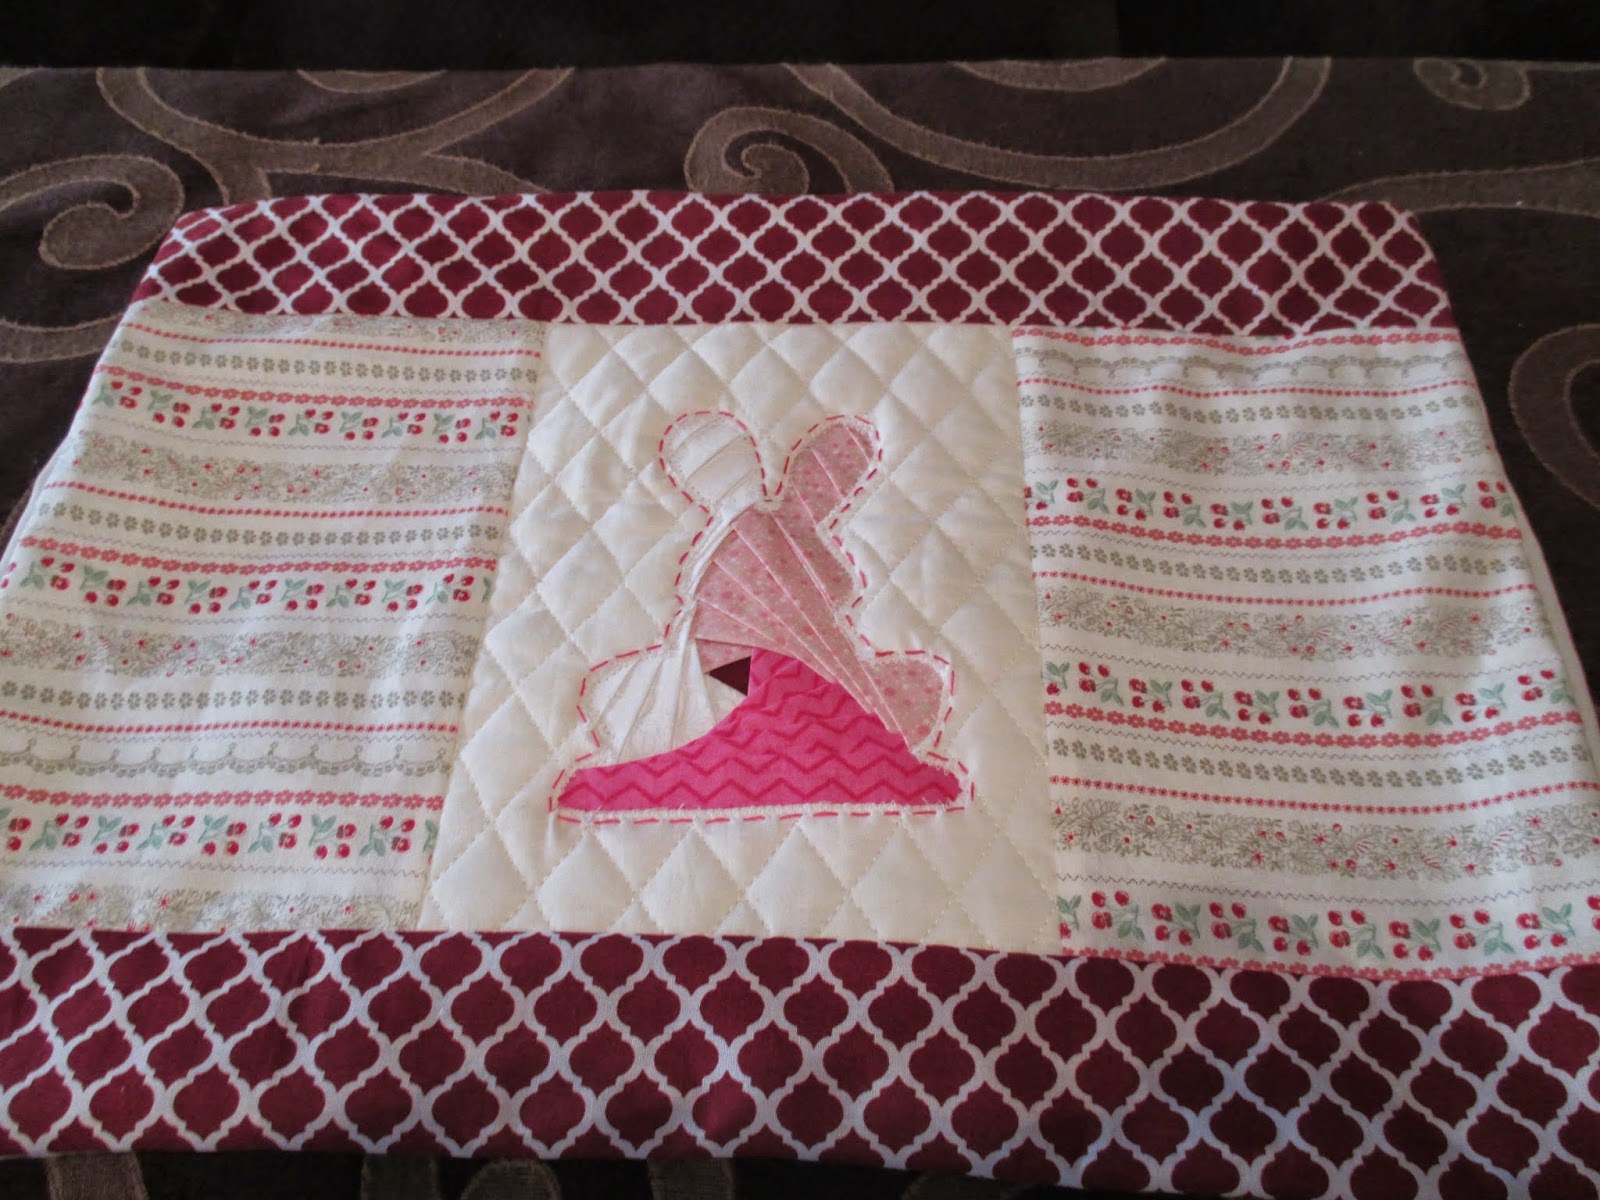
Place the background fabric over the folded fabric.  Stitch around the bunny to prevent fraying using a zigzag stitch or blanket stitch. I also, used pink DMC floss to baste around the bunny and make it stand out.
Now you have a cute bunny block that would be perfect in a wall hanging. I have decided to us this as block as part of my pillow sham of the month.  You can find the other pillow shams under the tab at the top of the page.  


To make the pillow sham cut the bunny square to 6 ½”x9”.  If you want to cover the bulk of fabric created by the folding technique, you can baste a 6 ½”x 9” fabric to the back of the bunny square. Cut two 6 1/2”x9” blocks of the cherry.  Sew on both sides of the bunny square.  Cut two 3 ½” x 20” strip out of red polka a dot fabric and sew to the top and bottom of the block.  Trim to 14” x 18”.   Cut two rectangles measuring 14” x 11”.  Hem one side of each of the rectangles measuring so that they measure when hemmed 9 ¼”.  With right sides facing together lay the hemmed rectangles so that they slightly overlap in the middle on top of pinwheel square.  Pin and sew ¼” seam all the way around the edges.  

To make the ties with right sides facing together fold the green rectangles and sew ¼ inch seam all around but leave one side open.  Turn fabric right side out and press.  Tuck in raw edges of open side and sew onto wrong side of opening on each of the hemmed squares fabric.  Turn sham right side out place a 12"x 16" inch pillow in your sham and tie back close. 
Happy Easter!

St. Patrick's Day Pillow Sham!


For Christmas I decided to give my mom a gift of the seasons.  I made a pillow sham for Christmas and then promised a new sham for each season.  This is the pillow sham for March.  I wanted something that would reflect the colors of St. Patrick’s day but would work with her decor all month long. 
To make the pinwheel star-
Cutting instructions:
Choose two contrasting fabrics and a solid fabric.  I choose a white clover and a green polka a dot.  Out of the white clover I cut two 3 7/8” squares and four 3 ½” squares.  Out of the green fabric I cut two 3 7/8” squares, four 3 ½” squares, four 3 ½” x 6 ½” rectangles.

Sewing instructions:

1.  Draw a diagonal line across from corner to corner on back of clover fabric.
2. Layer two 3 7/8” squares of clovers right sides together with two 3 7/8” squares of green.  Sew a seam ¼” away from the line on both sides of the diagonal. 

Cut on line and press open.  

You should now have four 3 ½” squares.  This is the middle of our pinwheel.

3.  Sew four half flying geese blocks. Place clover 3 ½” block with right sides together on green 3 ½” x 6 ½” rectangle.
  (make sure you look at the finished picture of this block to know which corner to place the clover square).  Sew on the diagonal line.  Fold fabric toward corner and press. 

Trim bottom two layers of fabric to ¼” from seam allowance.  Repeat for other three squares.


4.  Lay block out to look like finished block picture and sew together making sure seams match in sections.  Iron and trim to 12 inch block.

To make the sham-
Cutting instructions:
cut two 3” x 6 ½” rectangles out of green fabric.  Out of white fabric cut two 12 x 9 ½” rectangles, two 3” x 18 ½” rectangles, and two 14” x 11” rectangles.

5.  Sew the white 12” x 9 1/2” rectangle to both sides of your square. Press seams open.  Then, sew the white 3” x 18 ½” rectangles to the top and bottom of your square.  Press seams open.  Trim to measure 14” x 18”.  This is the front of your sham.

6.  Hem one side of the width of the rectangles measuring 14” x 11” so that they measure when hemmed 9 ¼”. 
7.  With right sides facing together lay the hemmed rectangles so that they slightly overlap in the middle on top of pinwheel square.  Pin and sew ¼” seam all the way around the edges.


8.  To make the ties with right sides facing together fold the green rectangles and sew ¼ inch seam all around but leave one side open.  Turn fabric right side out and press.  Tuck in raw edges of open side and sew onto wrong side of opening on each of the hemmed squares fabric.  Turn sham right side out place a 12"x 16" inch pillow in your sham and tie back close. 

 Enjoy your new bit of spring!


My Little Pony Cake!


My daughter wanted a My Little Pony cake, so I searched for an easy way to give her the cake she wanted.  I received a house shaped cake pan made by Wilton for Christmas.  It was perfect to make the village.  One cake mix makes four small houses.  I just piped around the outlines created by the cake pan when the cakes cooled.  Then, I printed off a picture of My Little Ponies and cut them out.  My daughter loved her Ponyville cake!

Vintage Transportation Quilt!


I made this fun quilt for my nephew.  I wanted to go with a 1920’s “Grand Tour” transportation theme.  


I found these cute vintage coloring pages and traced them on 10 " squares of muslin and stitched them with blue embroidery floss.


Then, I bordered the squares with red fabric and trimmed them to 12".   

 Next, I found an easy star pattern that measured 12".  This was a fun quilt to make.  


Happy Quilting!


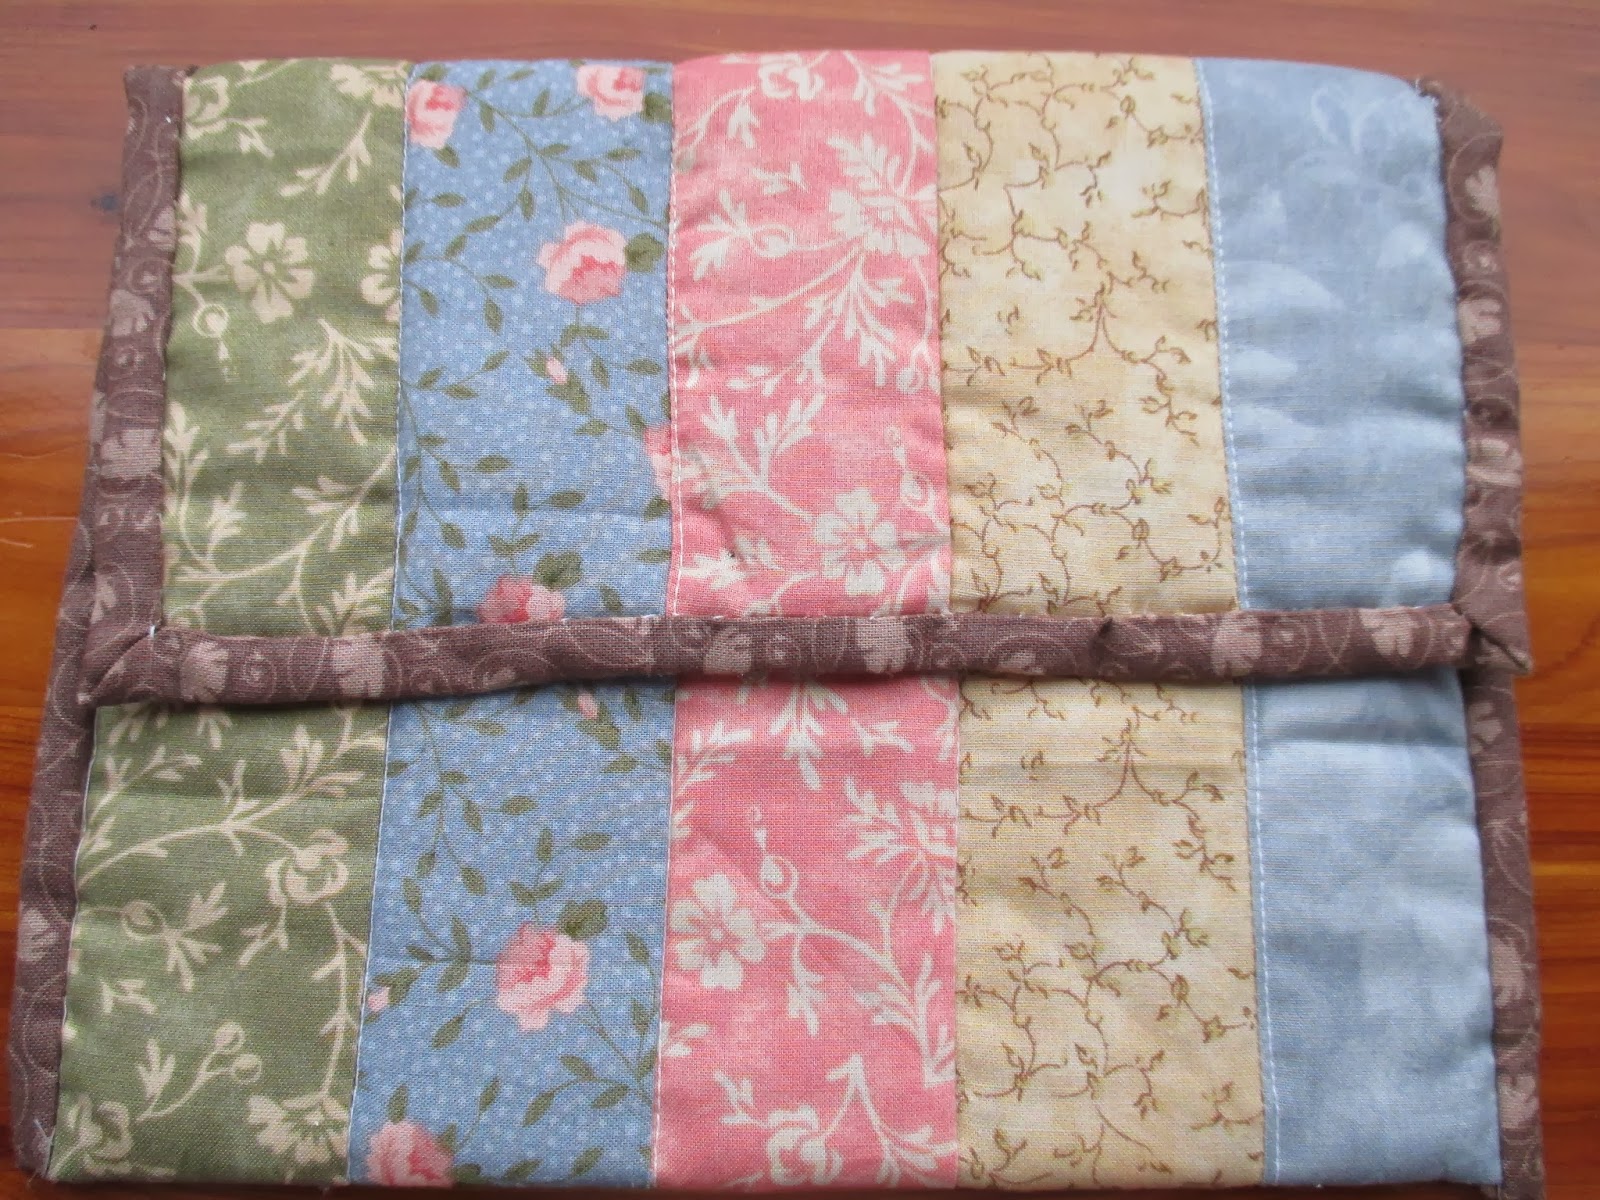
Quilted Tablet Cover!


I wanted to bring my kindle with me to use some of the apps on the go, but I did not want to scratch the screen in my purse. This desire sent me to my fabric stash. 

I found these cute fabric quarters, given to me by my sister.  Thanks sis!  It was fun to make this quilted cover for my kindle.  You can make a cover for any tablet by following these instructions.  First measure the width and length of your tablet.  

Then, cut out enough 2” strips to cover the width of my kindle.  Make sure you have at least a ¼” overlapping on either side.  For the length make sure your strips of fabric are long enough to cover the top of your tablet with again ¼” overlapping. 

Next, sew the strips together and iron flat.  

Layer the sewn strips with batting and a backing fabric of your choice.  Quilt. 

Bind the top of the fabric. Then, fold over.  Sew.  


Bind around all the unfinished edges.  

I used Velcro to hold the top down.  You could use snap or button and loop, too.  Enjoy your new cover!

Jean Minions!


 Up-cycle old jeans into these cute Minions.  My kids seem to have a never ending supply of hole in the knee jeans.  I thought it would be fun to use them to make Minions.  

I just cut around the pockets of their old jeans about ½”.  

Then, going to my stash I found the other materials to build the Minions. Such as the arms and legs.

 I added the facial details with a black permanent marker. 

It is fun to dig into your stash and see what comes out! 
Have fun sewing.