Liebster Award!


Wow, we were just awarded the Liebster Blog award!  This award is given to new bloggers with less than 200 followers.  In German it means one of your favorite blogs.  Since, I lived in Germany for 18 months it is fun to get an German award.  Thanks, to A Farm Wife’s Journal for nominating us!  She has a fun blog full of crafts, quilting, gardening, and farm life fun!  You can check her blog out at this link:


To pass on the love, I would like to award the following blogs:
One Orange Giraffe

FLEUR DE LIS QUILTS AND ACCESSORIES


1.    Thank and link back to the blog that awarded you

2.     Display the Liebster button on your website

3.     Nominate 3-5 blogs with under 200 followers

Sail Boat Quilt!


This quilt was made using the quilt as you go method.  It is a simple and quick way to make a quilt.  First piece your block.  Then, place batting between your front and back layers.  Use pins or safety pins to hold your block together. 

Next, quilt your block anyway you want.  Lastly, you sew the blocks together using the borders.  (The picture below is the back of the quilt) I used this YouTube video to learn how to connect the blocks.  http://www.youtube.com/watch?v=ZbEo34PEEh4&NR=1 


*As a quick note make your borders only 1” to 1 ½” wide.  If you want to make the borders bigger you’ll have to put batting in between your layers.
Pin It

Fun Diaper Cake!


This diaper cake was made for a game at our sister’s baby shower.  We had the guest guess how many diapers it took to make the cake.  The prize was “Extra” gum, because the winner was “Extra” glad they did not have to change all the diapers!  This cake is super easy to make.

Supplies: 
Pack of diapers (ours was 50 size one diapers.)
50 Small hair rubber bands
Two large rubber bands
One normal rubber band
Two cans different sizes with lids and one bottle.
Ribbon


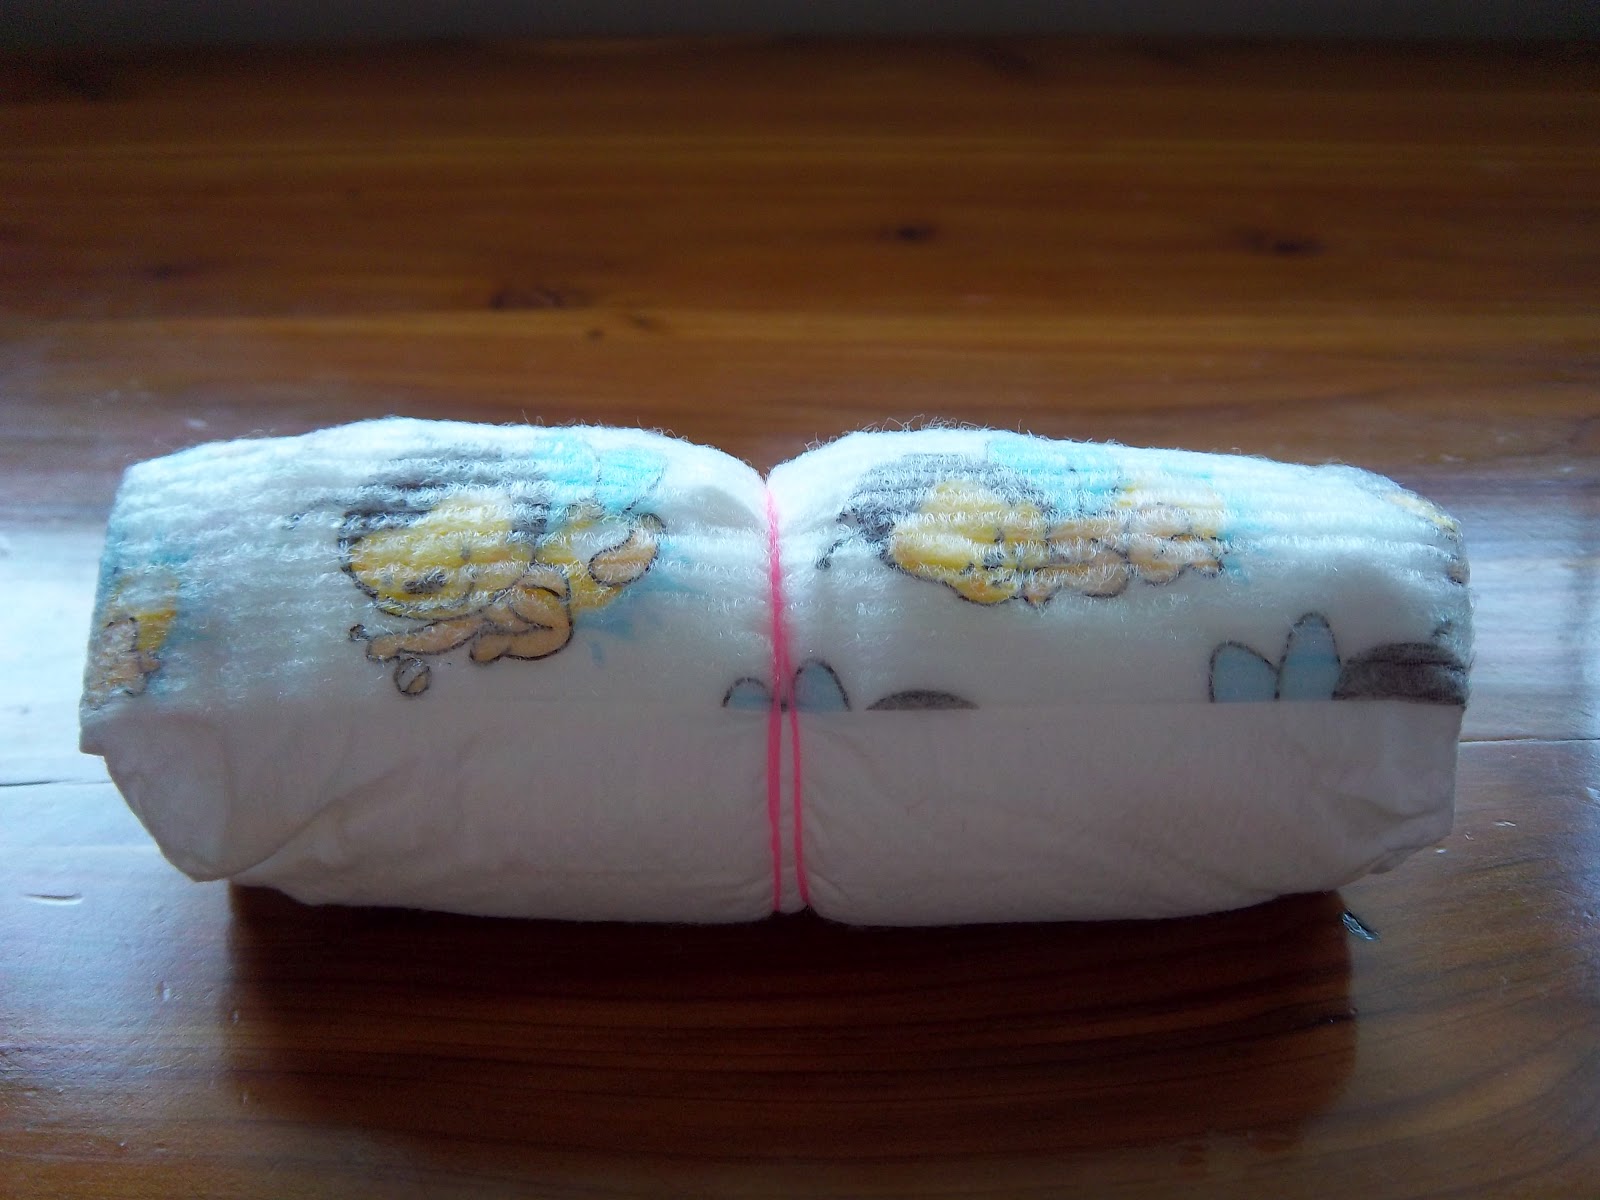
1.    Roll the diapers and place a rubber band around the middle of the diaper.   Put a large rubber band around the biggest can for the base of the cake. 


 Slide the diapers in between the can and the rubber band.  Do this twice to make two layers.  Place the lid on the can.

3.   For the second layer put a large rubber band on your second largest can (I used a frosting container).  Slide the diapers in between the can and the rubber band.  Place the lid on the can.
4.   Put a normal rubber band on the bottle.  Slide the remaining diapers in between the bottle and the rubber band.
5.   If you would like you can fill the cans with fun things for Mom and baby, and then stack the cake.
6.   Decorate with ribbons by using double sided tape.  If you want to make it extra secure.  Put a push pin in the back to hold the ribbon.  Just make sure tell the mom to remove the pins when she uses the diapers.

For some fun variations you can put a stuffed animal on stop and instead of ribbons you can decorate with circles or silk flowers.  Use your imagination and have fun!
Pin It


Melissa & Doug-Leading Designer of Education Toys 

OUR FIRST GIVE AWAY!

Congratulations to Kathy H.  She won our giveaway!  Thank You to everyone who entered.

Hi everyone!  We are a new blog that focus’ on all things crafty!  Check out our blog and if you like what you see, please follow us to stay up to date on all our crafty fun.  Thank you Quilter’s Blog Hop Party for letting us join the party! 
Blog Hop Party with Give-Aways
This is our first giveaway.  We are giving away two 100% cotton coats brand hand quilting thread.  One is a spool of green thread, the other blue variegated thread.  To win simple leave a comment with your favorite quilting tip.  One lucky winner will win both spools of thread. 

*If the original winner doesn’t respond in a week after the contest ends an alternate will be chosen.
Pin It

Stretchy Rings!


I like to make these little rings for my nieces.  They take half the beads and time.  Simply, pick out one to three beads that you want to be your focus and then string tiny beads on stretchy string till you get your desired length.  These whip up real fast and are fun to make for a girls party or a bazaar sale! 
Pin It

Strawberry Chocolate Chip Crumble


In Germany I loved a crumble that was made from strawberry jam.  I played around till I came up with this recipe.  It tastes just as good as the crumble I remembered eating in Germany and an add plus is this is only 182 calories!

Ingredients:

¾ c all Purpose Flour

¾ c quick- cooking oats

1/3 c packed brown sugar

1/3 c melted butter or margarine

4 oz fat free cream cheese

¼ c + 1 T powdered sugar

½ c strawberry jam

½ c milk chocolate chips

Preheat oven to 350

1.    In Medium size bowl combine flour, oats, brown sugar.  Stir till mixed.  Stir in Butter till all the ingredients are wet.  Set aside 2/3 cup.  To makes the crust press remaining mixture onto bottom of a 9” square pan that was coated with cooking spray.  Set aside.

2.   In a small bowl beat ¼ c of powdered sugar and cream cheese till smooth.  Spread cream cheese mixture evenly on top of oatmeal crust.  Next spread jams evenly over cream cheese mixture.  Sprinkle with reserved oat mixture and chocolate chips.

3.    Bake for 30-35 minutes.  Cool on wire rack.  Sprinkle with remaining powdered sugar.  Cut into squares.  Refrigerate left over’s.


Yield 12


*You can substitute any jam you want.  This would be great with raspberry or apricot jam!
Pin It


Gifts made from your favorite qoutes!


Here are some fun ways to share your favorite quotes.  Pinterest has tons of fun quotes and here are a few fun ways to share them with others.   I used my favorite picture of President Monson Leader of the Church of Jesus Christ of Latter Day Saints. If it is for non commercial use simple copy and paste the picture to word to get the size you want.  http://en.wikipedia.org/wiki/File:Thomas_S_Monson.jpg

 This picture was mounted on a block of wood that had been painted black.  Then mod podge was painted over the top of the block and a fun red ribbon is tied to the block. 

The next, picture was printed on cardstock with a favorite quote, then mounted onto black cardstock. Magnetic tape was placed on the back of a time cloths pin and attached to the picture to make a fridge magnet.   

Pin It

Clips made from scrapbooking supplies!


These cute hair clips were made with scrapbooking brads!  I love the different embellishments in the scrapbooking section of craft stores and thought they would make fun clips. 

 I bought the hair barrettes and scrapbooking brads at a craft store.  Note:  the barrettes are in the jewelry area of the store. 

 I simply slid the brad into the space in the middle of the clip.  If the flower slips around add a dab of hot glue to secure the flower. 

If your barrettes do not have a slit in the middle, glue a stiff piece of felt onto the barrette.  Then, Glue the flower on top. 

 Have fun creating all sorts of beautiful clips.
Pin It

Hot Items at CreateForLess 

Hancock Fabrics Homepage