Pinwheel fun!


I love pinwheels!  They always remind me of summer so this month’s pillow sham is patriotic pinwheels.
 
Instructions: 

Cut out eight 4” squares of the white background fabric and four 4” squares of the red polka dot and flag fabric.  This website is a great source on how to assembly the pinwheel blocks: 


To have one pinwheel slightly above the other sew a 3 x 7 ½” strip of background fabric to the bottom of the red pinwheel block and another 3 x 7 ½” strip to the top of the flag pinwheel block. Trim and iron. Cut out two 3 x 10” strips of fabric from the background fabric.  Sew one to the left side of the pillow sham top and one to the right side of the pillow sham top.  Iron and trim to 9 x 18”.  Cut out two 4 x 18” strips from the brown fabric.  Sew one to the top of the sham and one to the bottom of the sham.  Iron and trim to 14 x 18”


To sew on the rick rack, lay it under one of the pinwheels and sew on at a diagonal using a straight stitch.


Sew on a fun button to go in the middle of your pinwheel.

Next, cut two rectangles measuring 14” x 11”.  Hem one side of each of the rectangles measuring so that they measure when hemmed 9 ¼”.  With right sides facing together lay the hemmed rectangles so that they slightly overlap in the middle on top of pinwheel square.  Pin and sew ¼” seam all the way around the edges.  

To make the ties cut two rectangles measuring 3" x 5".  Fold in half with right sides together and sew ¼ inch seam all around but leave one side open.  Turn fabric right side out and press.  Tuck in raw edges of open side and sew onto wrong side of opening on each of the hemmed squares fabric.  Turn sham right side out place a 12"x 16" inch pillow in your sham and tie back close. 

Hexie Fun!


I discovered the fun of making hexies, but  I must warn you once you start making hexies they can get pretty addicting.

I made my hexies by first cutting out a bunch using standard computer paper with a Fiskars hexagon squeeze punch.  

I like using the cutter because it cuts out the perfect size hexie to fit on a charm pack.  

Place cut out hexie on a square of fabric. Fold down the corner and sew through both layers.  

Then, go back and double sew the same corner to secure it down.


Next, move to the next corner and repeat. 

Do this all the way around the hexie and tie off your thread.  


Now, iron all your hexies so they will hold their shape.  

Take out the papers and sew 7 hexies together to make a flower.  

Iron your flowers and then sew them together. 

I like to use dmc floss to sew the center of the hexie flower.  

These hexies can be use to make almost anything you can imagine, a quilt, pillow sham, hot pad.  Let your imagination go and see what you can create!

Flower Pillow Sham!


Since the May always reminds me of spring flowers, I created this whimsy pillow sham for my pillow sham of the month post. 

Instructions:
Chain the length of your pillow, then add three chains. (My chain was 18” long)  *Double crochet in the next 10 chains.  Chain 5 then skip 5 chains and repeat from *  Do this all the way across to complete your row.  Keep adding rows till your sham measures the same size as your pillow. (My rows added up to 14”).  You are creating the front of your pillow sham. 

Working from bottom to top of the single crochet row, braid the row together by pullin the loops through each other. Repeat this with all the single crochet rows.   

Now start on your back panels.  Chain half the length of your pillow, then add three chains. (My chain was 9”) *Double crochet in every chain across, chain three and repeat from *  keep adding rows till your sham measures the same size as your pillow. (My back panels measured 14”).  Repeat this step to make the second back panel.  

Now using your crochet hook and yarn slip stitch the back panels to the front panel on sides, top and bottom.  

Make sure you catch the end of your braided rows into the slipstitch as you crochet the pieces together.


To make the flowers I used a small crochet hook and dmc floss. 
1. Chain 5
2. Slip stitch in first chain to make a circle.
3. Chain 3
4. Double crochet in the middle of the circle 10 times
5.  Slip stitch together
6.  Add a new color
7. Chain 3
8. Do 2 double crochets in the same chain. 
9.  Double crochet 3 times in all the chains until you complete the circle.
10.  Slip stitch together
*11. Chain 3
12. Skip next chain
13. Single crochet in next chain
14. Repeat from * till you complete the circle. 
15. Tie off
16.  Using dmc floss that matches the flower sew the flower onto the front of the pillow sham.

Enjoy your spring pillow sham!


Microwave Kettle Corn!


  I have been craving Kettle corn, but did not want to wait till the fair.  After a little experimenting I discovered I could make kettle corn in the microwave!

Here is what I did:


In a medium size glass bowl add ¼ cup sugar, 1 Tablespoon of oil, 1 teaspoon of salt and ¼ cup of popcorn.  Mix until the kernels are coated.  

Place a microwaveable plate on top of the bowl.  Microwave about 3 and half minutes.  The time will vary based on how hot your microwave cooks.  

Take out the bowl with hot pads and carefully lift the plate off so it is away from you.  This way you won’t get a face full of steam.  

Using a slotted spoon, take the popcorn out of the bowl and place on a cookie sheet or parchment paper to cool.  

You can put the lid back on and pop the remaining kernels.  Just, pop the popcorn until you count to three and do not hear anymore popping.  These kernels are more likely to burn so watch them carefully, if they start to smell like they are burning stop popping.  If you end up with some burnt kernels just pick them out.  Not every kernel will pop, but you will get a bowl full of yummy popcorn when you’re done.  Best part is clean up is a cinch just use hot water and soap to clean off sugar.  
Enjoy!

Iris Folding Bunny Quilt Square!


I came across Iris Folding patterns and thought they would make a fun quilt!   I was surprised how easy and fun this quilt was to put together.  It looks like a lot of work, but is really quite simple.  

First, find a pattern that you like.  I found the bunny pattern at http://circleofcrafters.com/irisfolding/index.html

Print off two copies of the pattern.  Cut out the bunny on one of the copies and tape it to a table.  Here comes the fun part.  

I used my scrap fabric which I folded over and cut to fit the pattern.  You can also make 1” strips and fold with wrong sides facing and iron to use as your fabric.  

The bunny pattern calls for 3 different fabrics.  Using the pattern place your fabric so the fold is right on the line marked 1.  Use a thin line of fabric glue to secure each layer.

You may want to tape this fabric to the table so it won’t slip.  Continue to follow the pattern in number sequence.   

Keep following the numbers and layer the fabric until you have created an iris opening. 


 It does not look pretty, but from the back, but wait till you flip it over and see the fun pattern you created.


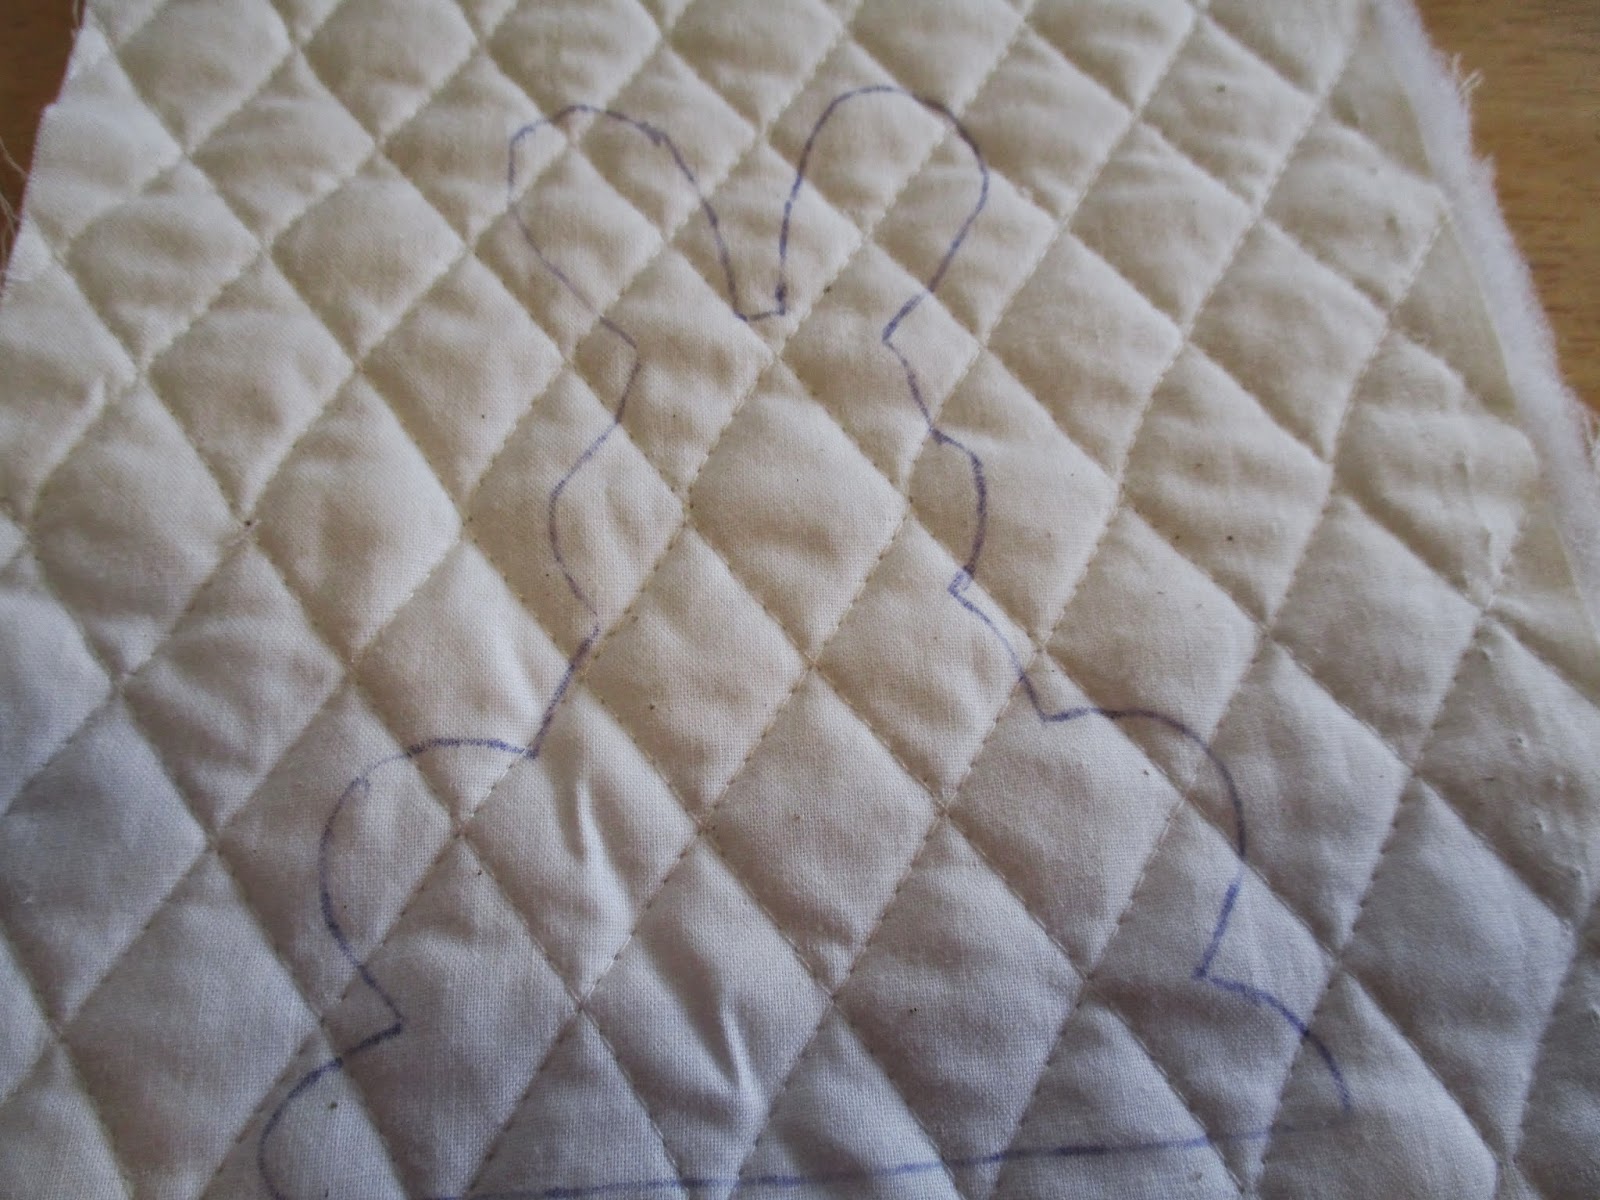
Next, using the second copy of the pattern cut out the bunny shape and trace it onto a background fabric.  It is easier to work with if your fabric is a little stiff.  You can use iron on interfacing to stiffen fabric or like in this quilt use pre-quilted fabric.  Remove the paper pattern from the folded bunny and if you would like glue a small piece of fabric to cover the iris opening.  

Place the background fabric over the folded fabric.  Stitch around the bunny to prevent fraying using a zigzag stitch or blanket stitch. I also, used pink DMC floss to baste around the bunny and make it stand out.
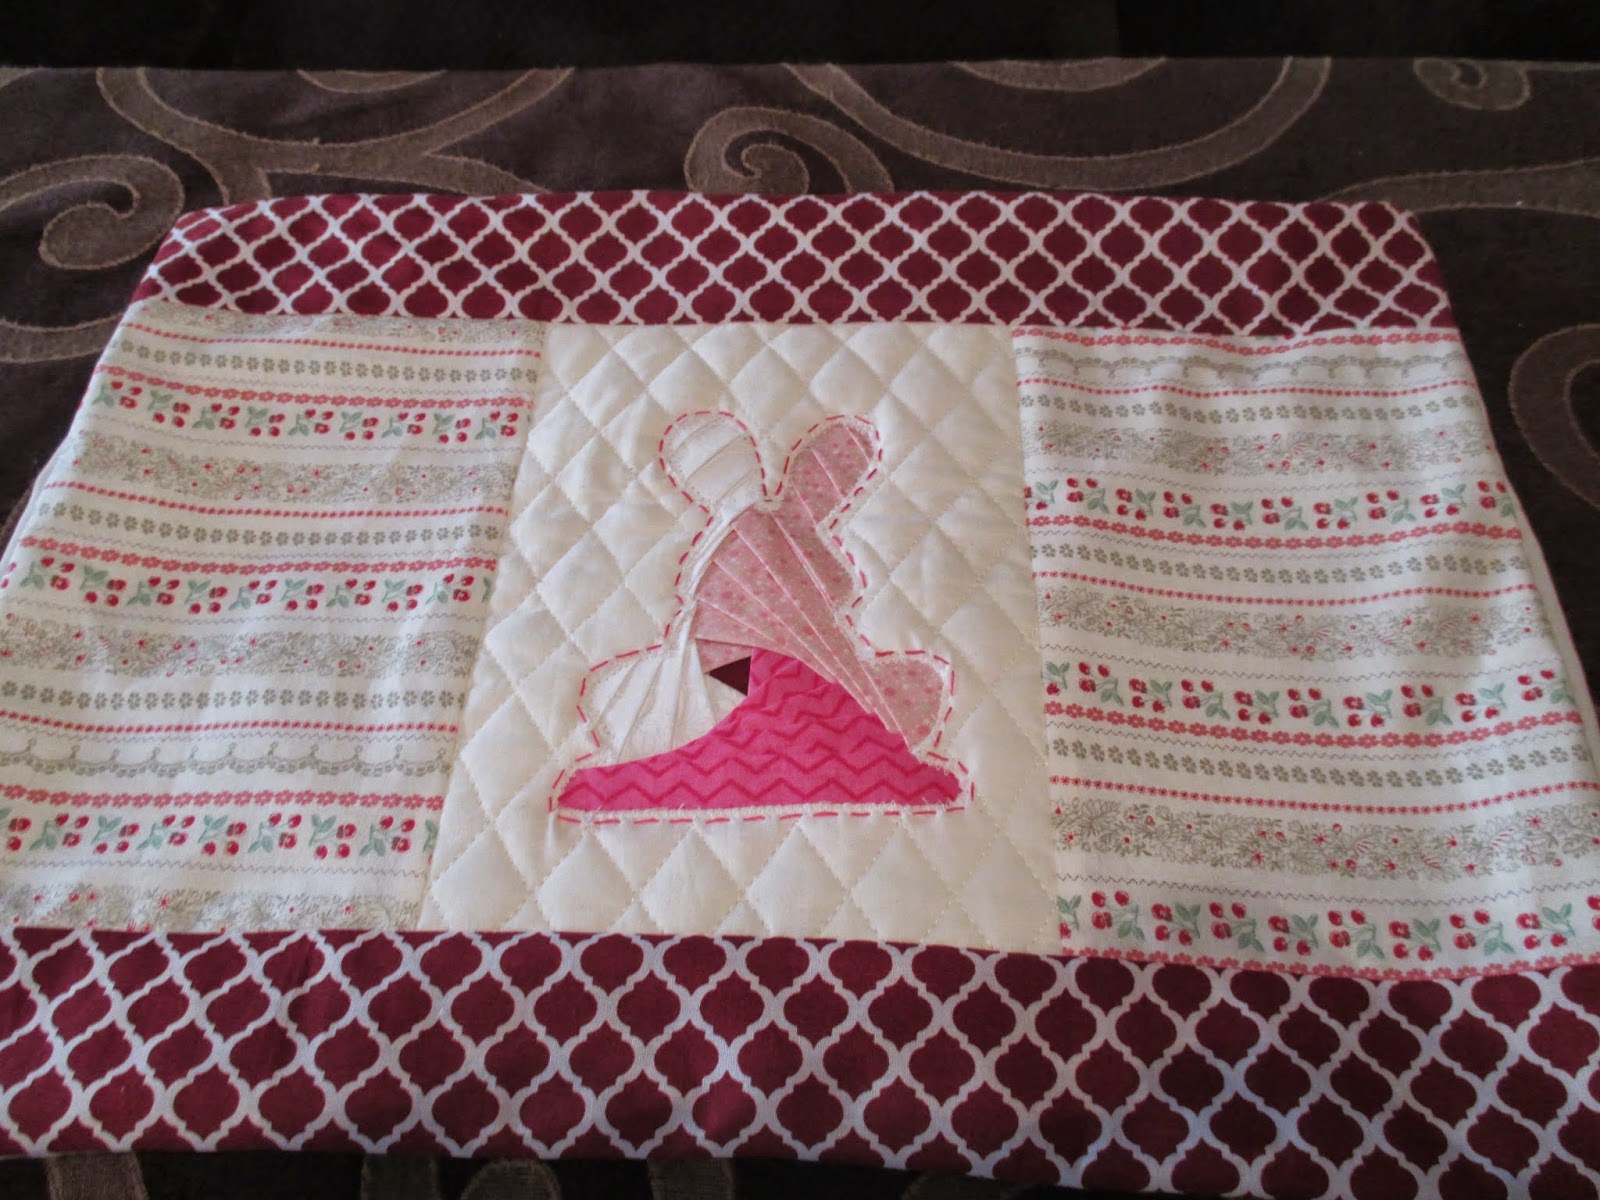
Now you have a cute bunny block that would be perfect in a wall hanging. I have decided to us this as block as part of my pillow sham of the month.  You can find the other pillow shams under the tab at the top of the page.  


To make the pillow sham cut the bunny square to 6 ½”x9”.  If you want to cover the bulk of fabric created by the folding technique, you can baste a 6 ½”x 9” fabric to the back of the bunny square. Cut two 6 1/2”x9” blocks of the cherry.  Sew on both sides of the bunny square.  Cut two 3 ½” x 20” strip out of red polka a dot fabric and sew to the top and bottom of the block.  Trim to 14” x 18”.   Cut two rectangles measuring 14” x 11”.  Hem one side of each of the rectangles measuring so that they measure when hemmed 9 ¼”.  With right sides facing together lay the hemmed rectangles so that they slightly overlap in the middle on top of pinwheel square.  Pin and sew ¼” seam all the way around the edges.  

To make the ties with right sides facing together fold the green rectangles and sew ¼ inch seam all around but leave one side open.  Turn fabric right side out and press.  Tuck in raw edges of open side and sew onto wrong side of opening on each of the hemmed squares fabric.  Turn sham right side out place a 12"x 16" inch pillow in your sham and tie back close. 
Happy Easter!